Best Fort Builds for Build a Dino Defense
Choke layouts, layered defenses, and upgrade order that scale past early waves.
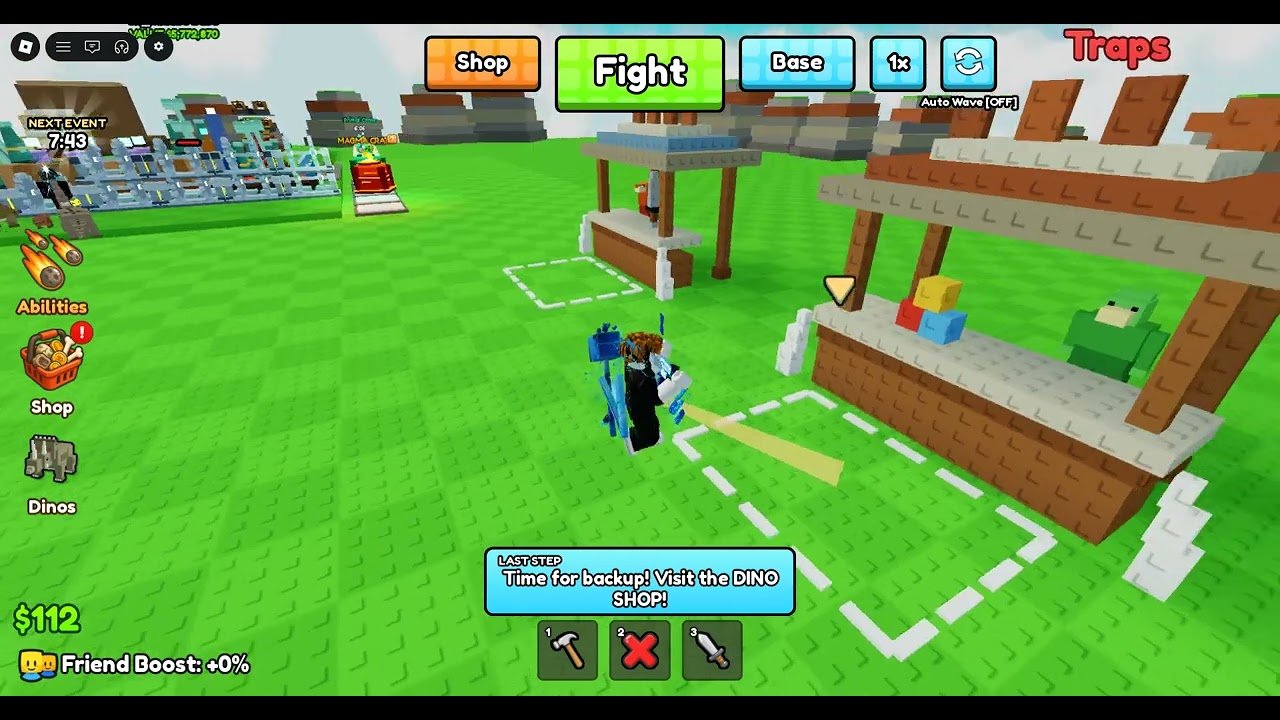
Forts that protect eggs (not screenshots)
A “best” fort in Build a Dino Defense is any layout that keeps your egg alive while converting dinosaur waves into cash, crates, and stronger defenses. Fancy silhouettes that leak are failed forts. This page collects community-proven patterns — expect shop unlock progression and piece names to shift with patches, so treat shapes as templates you tune on your plot.
Core loop reminder from Big Chomp Games: place traps and turrets, fight hungry dino waves, earn cash per stop, open crates for weapons, protect the egg at all costs.
If you are brand new, skim Getting Started and How to Defend the Egg first.
Pattern A — Single choke killbox
Best for: early and mid waves, low micro, clear upgrades.
Shape
- Seal the egg on three sides with fort pieces.
- Leave one entrance corridor 2–4 tiles deep.
- Line the corridor floor with traps.
- Place turrets at the corridor mouth and along a side angle that still sees the lane.
- Keep a player balcony or side pocket for weapon fire without blocking shots.
Why it works
All cash spent upgrades the same tiles dinosaurs must use. Overlapping turret arcs delete packs before they reach the last trap row.
Watch-outs
- Corridor too long with no damage mid-way → fast dinos sprint through.
- Turrets placed behind thick decorative walls → wasted range.
- Opening a “temporary” side door and forgetting it → classic egg snack.
Pattern B — Dual-layer onion
Best for: players with spare cash who still want one main path.
Shape
- Inner killbox around the egg (Pattern A).
- Outer ring that guides dinos into the same choke rather than adding a second entrance.
- Outer traps act as softener; inner traps finish.
Why it works
Early damage reduces how much HP enters the critical tiles. You still upgrade a single philosophical “door.”
Watch-outs
Onion rings that create two live entrances defeat the point. Outer walls must funnel, not freestyle.
Pattern C — Compact U-bend
Best for: plots where terrain already blocks one flank.
Shape
- Use map geometry as a free wall.
- Bend the path in a U so turrets at the center island shoot enemies twice as they pass.
- Traps on both legs of the U.
Why it works
Extra time in range without a huge footprint. Community layouts often prefer U-bends when a rock or cliff already exists.
Watch-outs
Bends with zero trap density are just sightseeing tours. Every extra tile should earn its keep.
Pattern D — Wide gate, deep shredder
Best for: denser packs that clog ultra-narrow doors awkwardly.
Shape
- Slightly wider mouth so packs enter together.
- Immediately behind the mouth, a deep trap field.
- Turrets elevated or angled to rake the field.
Why it works
Some enemy pathing behaves better when not single-file. You trade a bit of focus fire for reliable packing onto AoE-style trap zones (when available).
Watch-outs
Wide gates without deep shredders leak. If you widen, you must lengthen damage, not just the door.
Upgrade order shared by strong forts
Regardless of pattern:
- Seal leaks.
- Trap density on the live path.
- First turret with clean vision.
- Upgrade hot traps/turrets.
- Second angle or deeper shredder.
- Weapon quality from crates for clutch cleans.
- Cosmetic outer flair last.
Deep piece theory: Traps and Turrets. Economy: Crates and Weapons.
Rebuild triggers
Rebuild or heavily renovate when:
- The same tile leaks two waves in a row.
- A new turret tier makes your old sightline obsolete.
- Your maze is long but damage-per-tile is low.
- You can fund a Pattern B onion without emptying the buffer.
Do not rebuild mid-breach unless the egg is already safe and you are only rotating a single piece.
Cash-efficient expansion
- Expand along the funnel, not sideways into unused pasture.
- When you add length, add traps at the same time.
- Keep a cash reserve equal to at least one meaningful upgrade — exact amounts vary by patch, so think in “one shop tier,” not a fixed number.
Using the six-player server as a lab
Public servers (~6 players) are free museums:
- Spot which neighbor still has an intact egg after hard waves.
- Note their entrance width and turret count — not their paint job.
- Copy the idea, then adjust to your egg’s facing.
Never assume their terrain pocket matches yours.
Sample early-game blueprint (text)
- Stand behind the egg; face the most open approach.
- Place side seals until only one corridor remains.
- Drop a starter trap line of three or more tiles.
- Plant one turret with uninterrupted view down the corridor.
- Survive two waves; upgrade only corridor pieces.
- Open a crate; equip a weapon; hold the corridor mouth.
- If stable, add either a second turret angle or an outer softener ring.
This blueprint pairs with the video-backed tips on Getting Started and the funnel rules on How to Defend the Egg.
Fort anti-patterns (avoid)
- Swiss-cheese walls with multiple “temporary” gaps.
- Turret courtyards with no enemies walking through.
- Trap fields on the opposite side of the map from the egg.
- Spending code or crate windfalls on decor first (Codes Hub is optional anyway).
- Copying a viral spiral that ignores your egg’s actual coordinates.
Related pages
Pick a pattern, instrument it with damage, and only then make it pretty. The stampede does not grade architecture — it grades whether dinner got through.
Frequently Asked Questions
Quick answers to the most common questions.
What is the best fort shape for beginners?
A single choke killbox: one entrance, traps on the corridor, and a turret with a clear lane. Expand only after that lane feels stable.
When should I switch from a simple choke to an onion layout?
When you have spare cash, the inner door is solid, and you can add an outer softener that still feeds the same entrance.
Why do wide gates fail for some players?
Width without a deep trap field lowers focus fire. If you widen the mouth, lengthen and densify damage behind it.
Should I copy another player’s fort exactly?
Copy funnel ideas and turret angles, then adapt to your egg’s facing and terrain. Exact clones often leave new side gaps.
How often should I rebuild?
Rebuild when the same leak repeats or a new unlock changes your DPS math. Prefer small patches during winning streaks.