Build a Dino Defense Turret Tier List
Community rankings for automated firepower that covers what traps cannot.
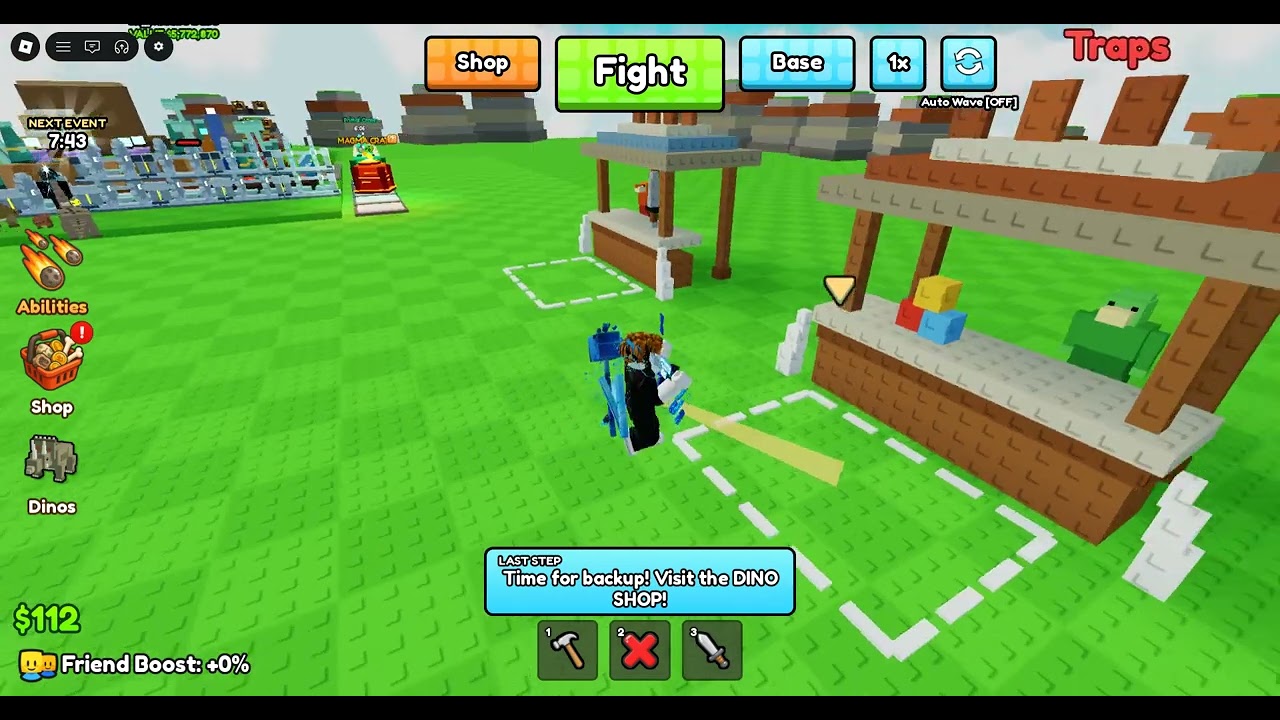
Turrets are your automated answer to hungry dinosaurs in Build a Dino Defense. Traps punish feet; turrets punish anything that enters a cone or radius while you rebuild, open crates, or help a neighbor on a six-player server. This list grades turret roles S through C across early, mid, and late phases using the same methodology as the Tier List Hub. Pair it with the trap tier list and weapons tier list. For live footage of fort pressure and placement ideas, watch the embedded gameplay short mid-article, then stress-test your own plot with the fort checklist.
Ranking lens for turrets
We ask:
- How fast does the turret earn back its cost in saved egg HP?
- Does it cover a blind corner traps miss?
- Can you overlap two cones without wasting cash on vanity height?
- Does it still matter when packs thicken after frequent September 2026-era updates?
Grades are community-style and phase-aware. A starter sentry can be S on wave one and only B once you unlock stronger coverage. Re-validate after patches using the changelog tracker.
Early game
S — Basic single-target sentries on the first bend
Affordable turrets that shoot the lane you already forced with cheap traps. Early S means reliability and tempo, not cinematic damage numbers. Place them where dinos enter the kill strip, not glued to the egg with empty air in front.
A — Short-range backups covering the egg ring
A second cheap gun watching the final approach. Catches leaks while you place more path teeth. Avoid buying three identical guns before any trap funnel exists.
B — Mid-tier turrets purchased with starter cash
Strong on paper, premature in practice. Wait until you have a path and a cash buffer—or a boost from codes.
C — Specialty or prestige turrets with huge stickers
Late toys. Buying them first is a common wipe condition.
Mid game
S — Overlapping coverage turrets on choke exits
Two angles on the same choke beat one isolated lighthouse. Mid-game S turrets are the ones that delete softened targets leaving your trap corridor. Elevate only if the build tools make line-of-sight clearer; height for fashion wastes studs.
A — Reliable single-target upgraders that scale with cash
If your starter line upgrades cleanly into lasting DPS, keep feeding it. Consistency often beats chasing every new shop icon after an update.
B — Wide but weak spray without trap support
Coverage that ticks everyone lightly and kills no one. Fix trap depth first, then revisit.
C — Turrets staring at empty decorative courtyards
If nothing walks there, sell and move.
Late game
S — High-throughput or multi-target pieces anchoring the main lane
When waves densify, you need guns that keep up. Late S turrets sit behind upgraded traps and leave a pocket for weapons players to finish tanks. They are the ceiling of automated defense—not a reason to ignore handheld cleanup.
A — Specialized support turrets (slow, focus fire, long lane)
Situational stars when your main DPS is already online. A slow-oriented or long-lane piece can save a run if placed on the true path.
B — Extra copies past the point of overlapping returns
Diminishing extras that could have funded trap upgrades or crate opens instead.
C — Outdated early guns left unupgraded in dead zones
Replace or relocate. Dead weight turrets are silent admissions your plan froze mid-climb.
Placement playbook
- Draw the path first. Turrets amplify geometry; they do not invent it.
- Overlap cones on the choke exit, not on random walls.
- Keep a repair/fight pocket near the egg for players with crate weapons.
- Watch teammate paths on six-player servers—don’t block helpful lanes; see Players and server tips.
- Retest after updates. Meta shifts are expected; follow Updates.
Turrets versus traps versus weapons
| Layer | Job | Failure mode |
|---|---|---|
| Traps | Path ticks and control | Open plazas, no slow |
| Turrets | Automated lane DPS | Isolated cones, no overlap |
| Weapons | Active leak cleanup | Opening crates too late or never |
Healthy forts run all three. If you only buy turrets, dinos hug blind corners. If you only buy traps, long sightline runners punish you. If you never open crates, a single tanky leak ends the egg.
Learning from footage without copying blindly
Creator clips and shorts are great for seeing cone sizes and panic moments, but their cash timing may assume donations, prior progress, or a different patch. Use videos to learn angles, then rebuild with your wallet. Prefer legitimate progression via guides and codes over risky executors described on the Scripts Hub.
Mid-session upgrade order (example)
- Confirm funnel with cheap traps.
- Place one S-tier early sentry on the bend.
- Add egg-ring backup.
- Stack trap depth.
- Upgrade to overlapping mid coverage.
- Open crates for weapons when leaks still happen.
- Add late high-throughput turrets once cash is stable.
Run that loop, then audit with the fort checklist. For official destinations and creator discovery habits, see Links.
Closing notes
Turret tier letters move when Big Chomp Games tunes pacing, but the jobs stay: early reliability, mid overlap, late throughput. Keep this page beside traps and weapons, and return to the Tier List Hub whenever a patch makes last week’s screenshot look suspicious. The egg does not care about your favorite model—only whether the lane still fires when the stampede hits.
Frequently Asked Questions
Quick answers to the most common questions.
Should I spam turrets before building traps?
No. Force a path with cheap traps first, then place turrets on the bend and choke exit so every shot lands on dinos that must walk there.
What does overlapping coverage mean?
Two or more turrets aimed at the same choke from different angles so targets cannot hug a single blind wall and walk through.
When do I buy late high-throughput turrets?
After your funnel and mid coverage are stable and leaks still appear under dense waves—or when cash from clears and codes comfortably covers the upgrade.
Are these turret names exact shop entries?
We rank roles (starter sentry, overlap coverage, late throughput) because live shop labels change with patches. Match the role to current offerings.